

Create a product
Pick what you're selling, fill in its page, and put it on sale.
A new product starts as a draft, so nobody can buy it while you set it up. You create it in two short steps, then add its price and what the buyer gets on the product's own page.
Create it
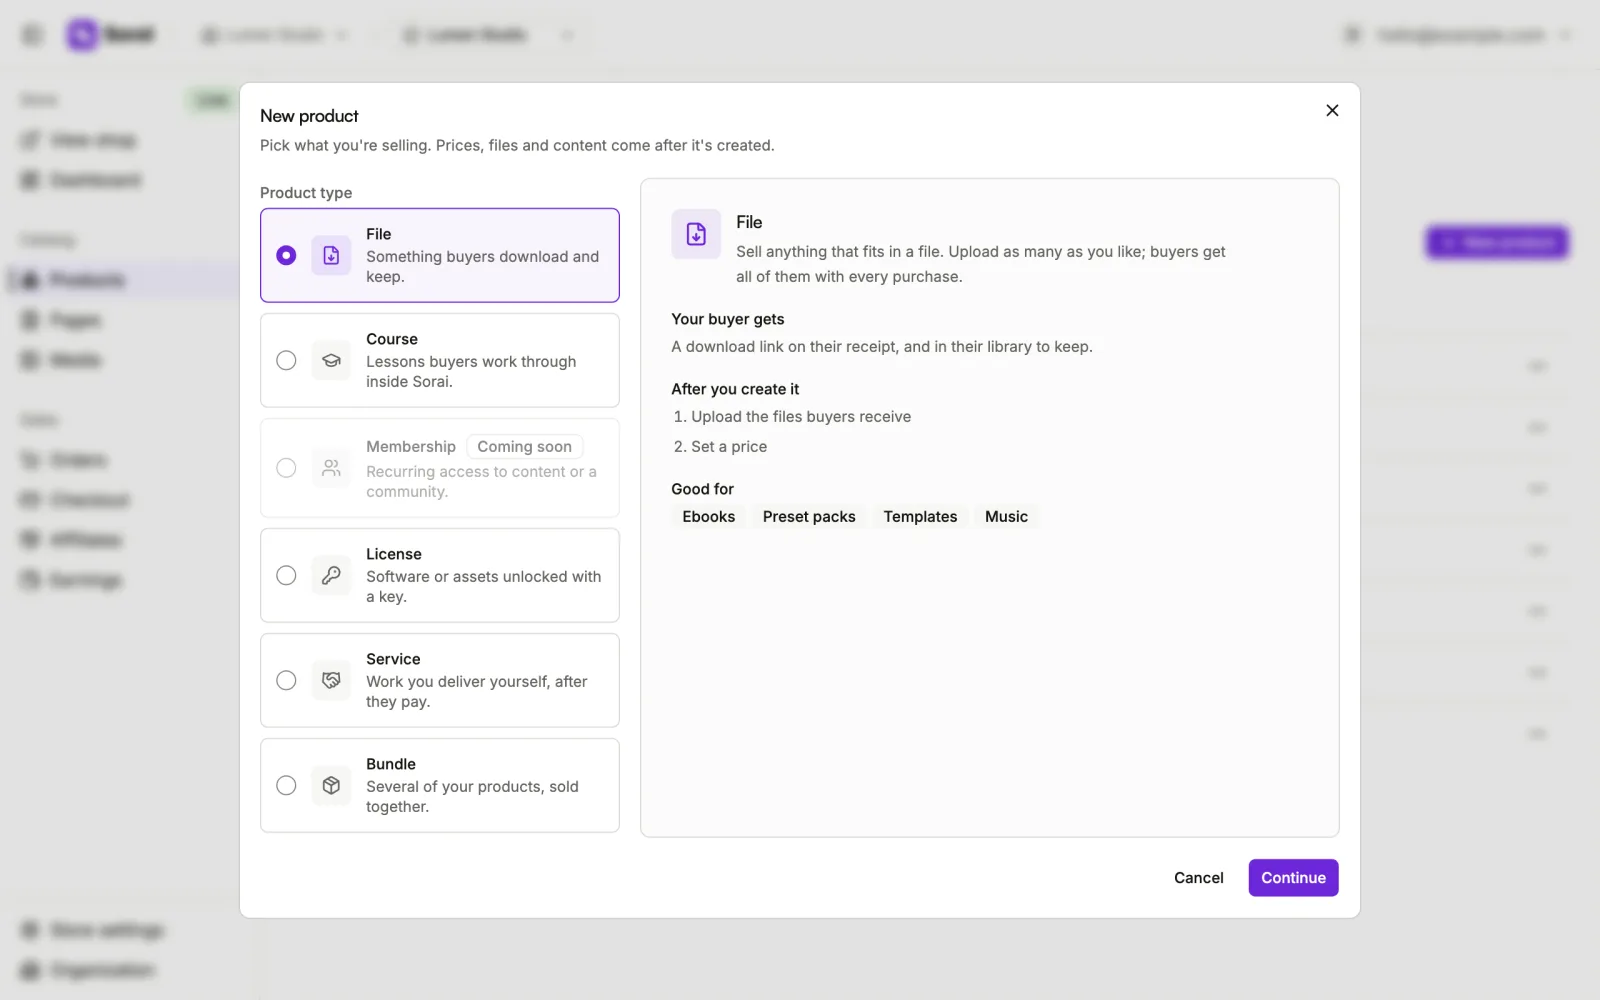
- In the sidebar, under Catalog, open Products.
- Choose New product.
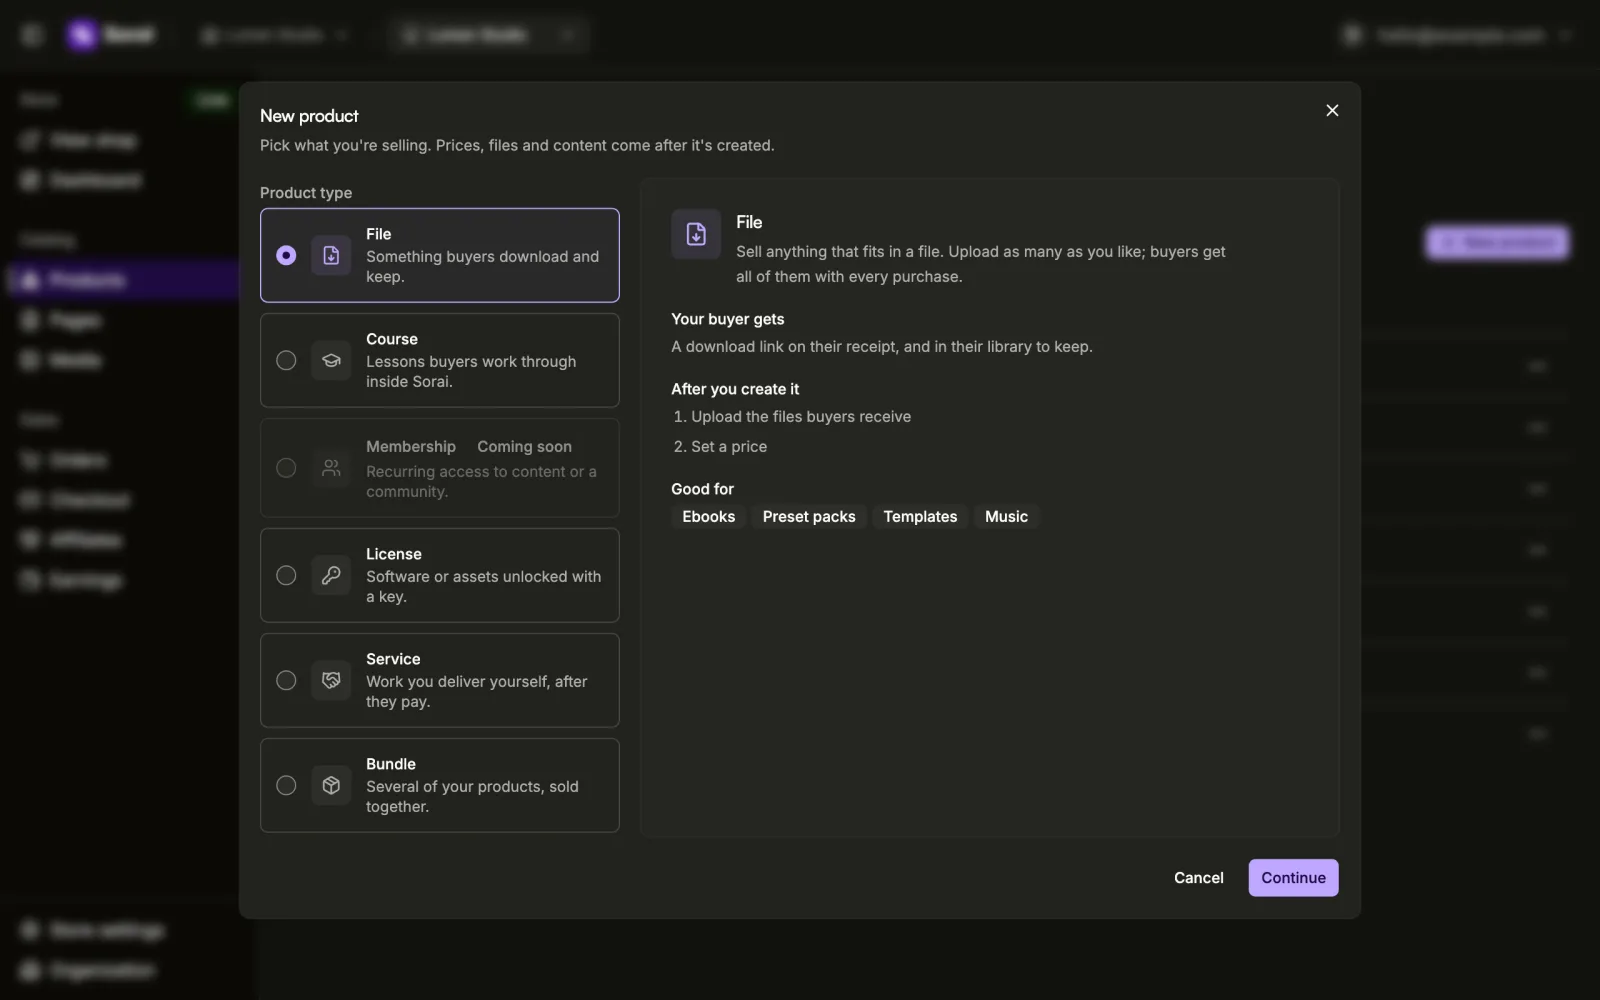
- Under Product type, pick what you're selling. Each type shows what Your buyer gets and what to do After you create it. Choose Continue.
- Enter a Name. The Slug fills itself in from the name; it is the product's own address on your shop. Use lowercase letters, numbers and hyphens only.
- Choose Create product.
The product page opens. To pick a different type before creating it, choose Change.
Fill in the product page
The product page is a stack of cards. Which ones you see depends on the type.
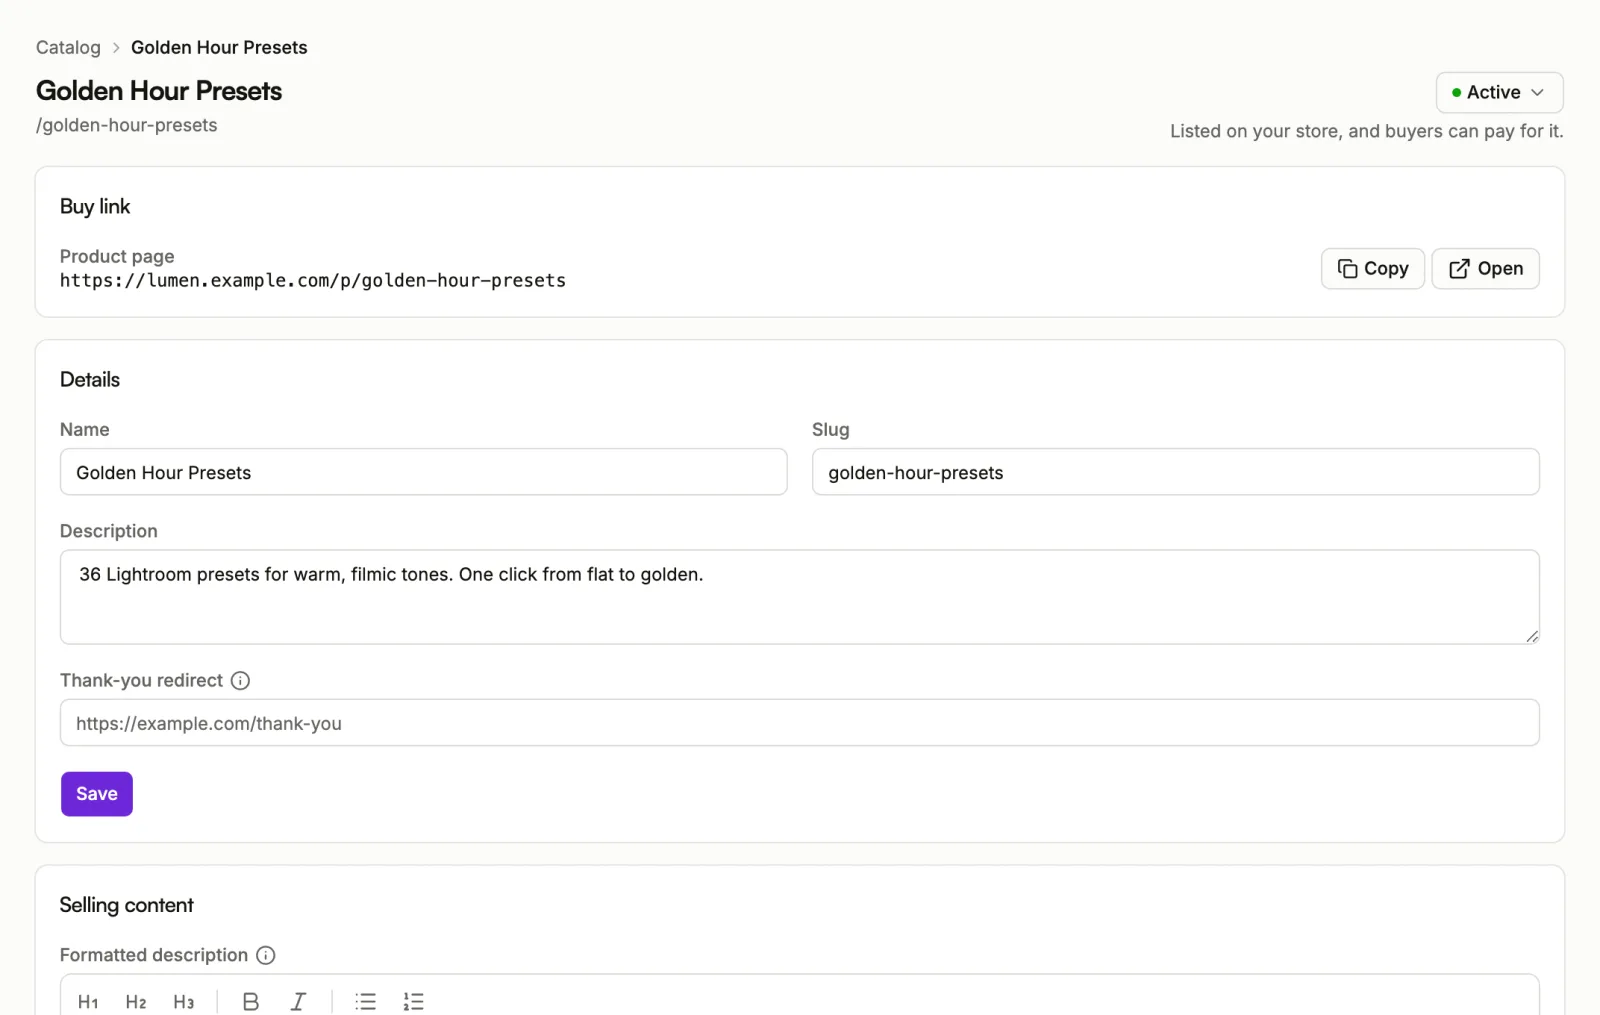
- Buy link: the address of the product's page on your shop, to share or open.
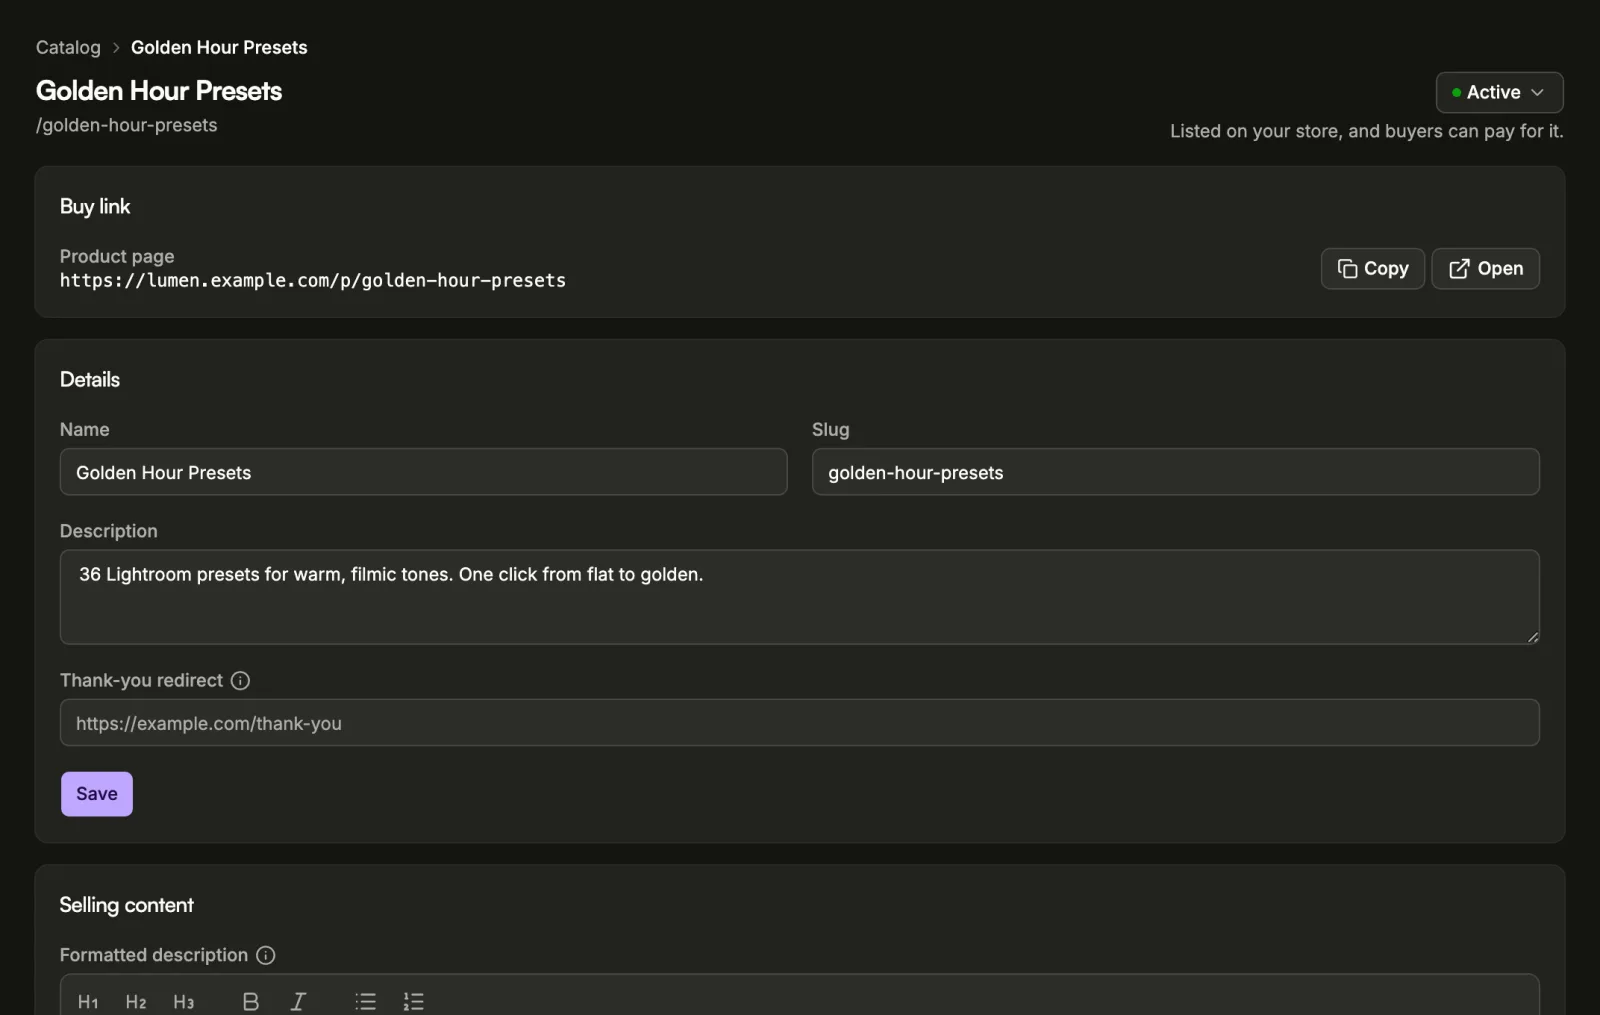
- Details: the Name, Slug and Description, plus the fields that belong to the type, such as Note to buyers for a license or What happens next for a service. Choose Save when you're done.
- Selling content: how the product page sells itself.
- Prices: what it costs. See Prices and editions.
- Files, Course content or What's included: what the buyer receives. See Files and delivery and Courses.
- Checkout offers: what else this product's buyers are offered. See Checkout offers.
Selling content
These fields shape the product page buyers see.
- Cover image: upload one, or choose Choose from library to reuse an image from Media. Images can be up to 20 MB.
- Formatted description: shown on the product page, below the buy button. Headings, bold text and lists only.
- Gallery: up to 5 images from your media library. Drag them to reorder.
- What you get: short lines listing what the buyer receives.
- Testimonials: a quote and a name for each.
- FAQ: questions and their answers.
Thank-you redirect
Thank-you redirect in Details sends buyers to a page of yours a few
seconds after they pay, instead of leaving them on the receipt. They can
always choose to stay on the receipt. The link must start with https://.
Leave it empty to keep the receipt. This needs the Pro or Business plan.
Put it on sale
The status button sits beside the product's name at the top of the page.
- Choose the status button (it reads Draft on a new product).
- Under Who can see this product, pick Active.
If Active can't be picked, the panel lists what is still missing under Before it can go live, with a link to fix each one:
- Give it a price: every type.
- Upload the file buyers get: a file product.
- Publish at least one lesson: a course.
- Put a product in it: a bundle.
- Say what happens after they pay: a service.
Under the button, a short line tells you whether the product is Ready to go live or how many things are left to sort out.
Archive, duplicate or delete
On Products, open the actions menu on a product's row.
- Archive hides the product from your store. People who already bought it keep their access. Unarchive brings it back as a draft, so it goes through the same checks before it goes live again.
- Duplicate makes a draft copy with its prices, editions, files and content, and opens it. Sales and stats stay with the original. Copied files count against your storage.
- Delete removes the product with its prices, editions, files and content. Images stay in your media library. This can't be undone.
A product that has sold can only be archived, never deleted. A product that sits inside a bundle can't be deleted until you take it out of the bundle.